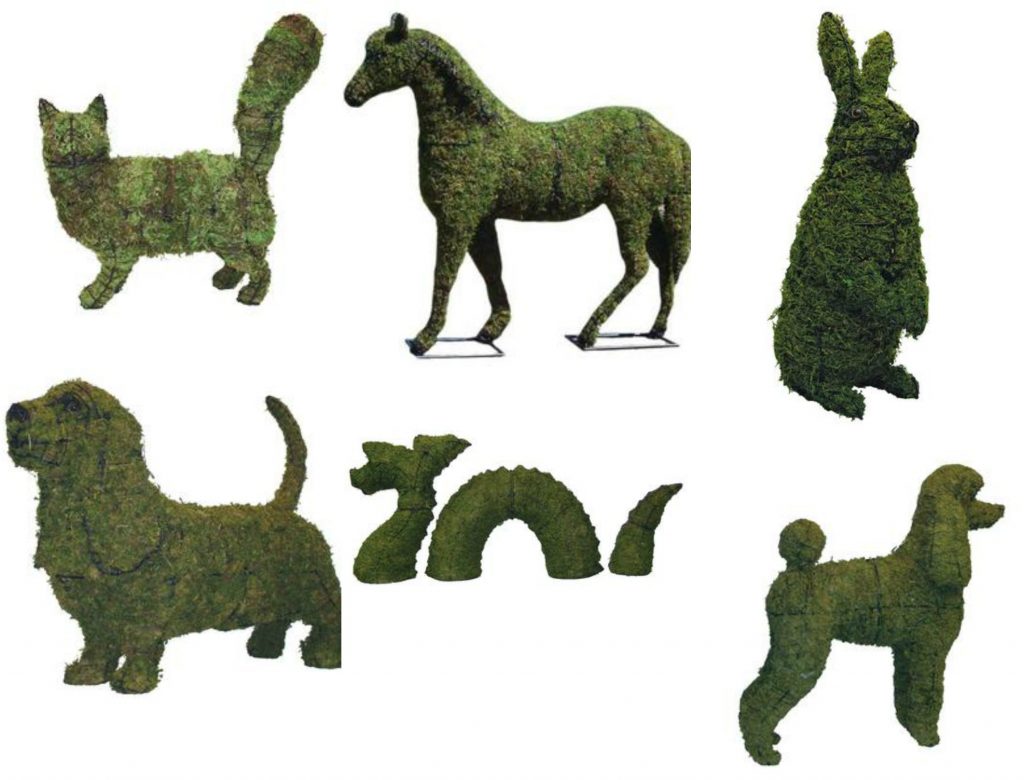
As the temperatures start to rise, so does my interest in spending more time outside. But my winter ravaged yard isn’t exactly inviting yet! And that’s why my interest was immediately piqued when I stumbled upon an incredible site full of unique garden inspiration – Henderson Garden Supply! And one of the many fun things they sell there, are the most charming topiary forms. Dog topiary forms, elephants, teapots – you name it! I thought I’d show you how to make a succulent topiary using two different forms! I’ve styled one succulent topiary from Henderson Garden Supply using real succulents planted right into the form, and another using faux succulent plants. Just choose whichever method is best for you!
I hope this post on how to make a succulent topiary, will give you inspiration for adding some whimsy to your own garden! Many thanks to Henderson Garden Supply for sponsoring this post, and allowing me to show you some of their awesome products.

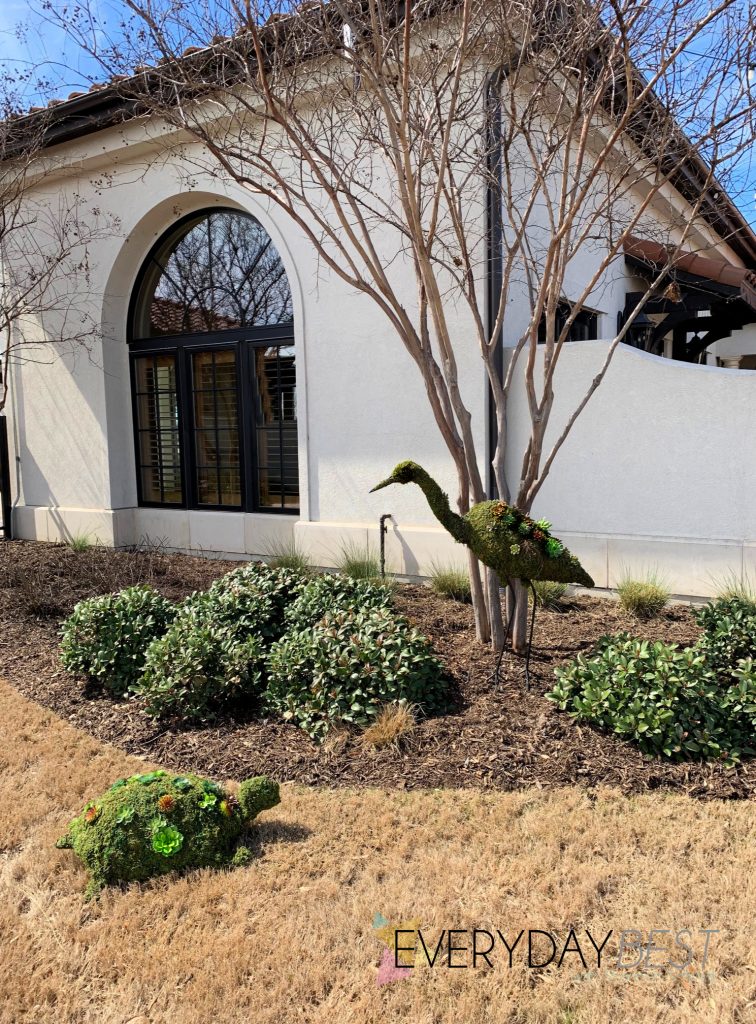
Aren’t these animal topiaries the most fun? I love how surprised people are when they see a whimsical topiary peeking out of some greenery. The discovery always seems to illicit a surprised smile and giggle from passers-bys!
And would you believe this sweet turtle is actually “planted” full of faux succulents? It is. And the huge heron topiary, has real living succulents rooting right into it’s moss. Here are some tips on both methods, so you can enjoy an animal topiary even if you don’t have a green thumb!
~ How to make your Topiary using Real live Succulents ~

Step 1. Choose a Topiary Form. You can choose the perfect size and style of topiary form by going to Henderson Garden Supply. I love how the site gives you lot’s of form options. Do you want your topiary shipped already filled with sphagnum moss ready for planting? You can get that. Conversely, if you prefer to stuff your own topiary or to leave the form empty there are metal only forms available as well. You can even buy some forms pre-lit with twinkling lights!
Choose your favorite Topiary here: https://www.hendersongardensupply.com/topiary-sculptures
Consider where you plan to put the topiary. Do you need something with some height? Henderson Garden Supply has pages of topiary options. And while you are there, check out their amazing Moon Gates and other uniquely curated Garden supplies!
Your garden will be the envy of neighbors in no time!
![]()
(Topiary forms right out of box. The Heron came in two parts, so I’m holding it’s head here!)
Step 2. Find the right Succulents to plant. If you are planting real live plants inside your topiary form, you will want to consider several factors. The main consideration is whether or not the shape of the plant or succulent is going to help you define the shape of your form. If you plant “leggy” or tall succulents, over time they are likely to change the shape of your form as they grow out. Short and better yet – flat topped – succulents can grow and spread while still keeping your animal topiary shape clear!
Can’t find succulents at your neighborhood landscape store? Order them online. You may also want to consider whether you want lot’s of colors in your succulents or one color theme. No answer is wrong.
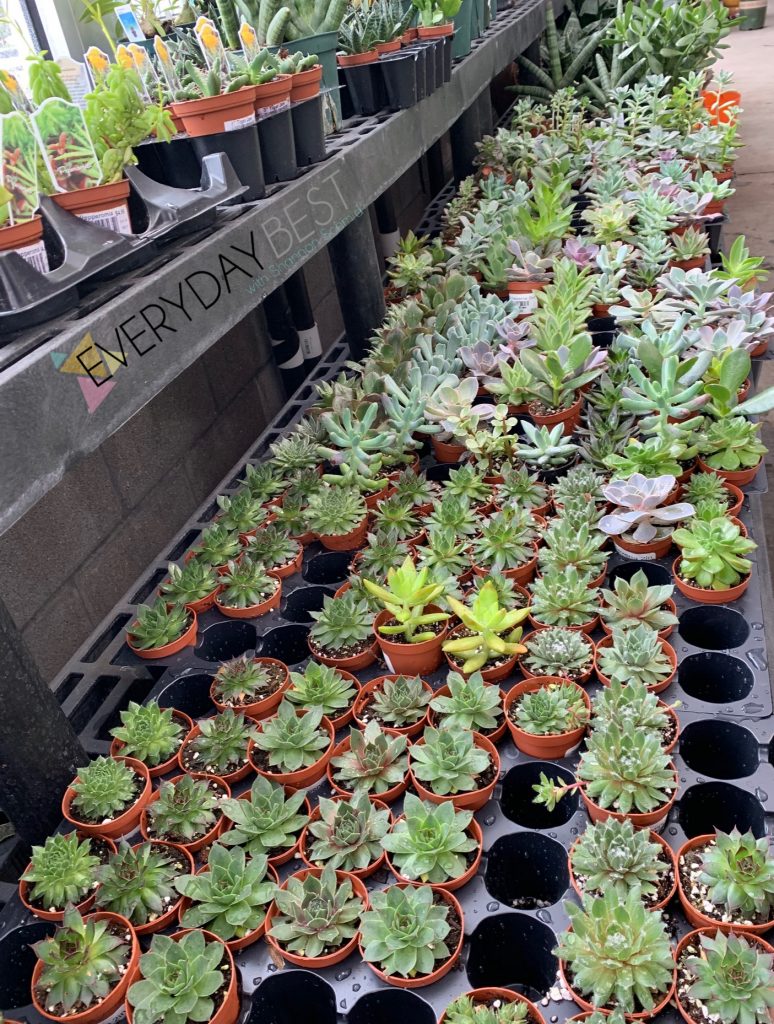
Wondering if you can plant things other than succulents? Yes! Decorative grass or small plants work well also – just keep in mind that succulents require very little watering. So if you plant things that need more water or upkeep in your topiary, consider using plants with the same watering/sun needs rather than plants with different needs all together. Choose what works best for your lifestyle. If you need no fuss – then succulents are the way to go.
Step 3. Some tools that will help you… A long screw driver. You will use this to poke a nice size hole big enough for you to insert your succulent plant into.If your plants are being inserted on the side of your topiary or the bottom, you may need some greening pins to help you fight gravity! Check out the video below to see how I used extra moss to secure plants instead of floral pins. You may also want extra zip-ties to help you re-attach sections of the form you take apart in order to put larger plants inside!

Before you start, be sure to fully saturate your sphagnum moss stuffed topiary with water. That will help the succulent roots to grow and attach to the form. Now you are ready to plant. Be sure to hold plants gently as you insert them into the hole in your moss. Tight fit? use your screwdriver to make it bigger.
~ How to make your Topiary using Faux Succulents ~

Step 1. Choose your Topiary from Henderson Garden Supply. Then choose your faux succulents. Because your succulents will not grow, you have more lee-way in choosing shapes and heights. As long as the plant you choose flatters the shape of the form, you can use it knowing it will never grow taller!
Step 2. Get out the screwdriver! Just like you need to pierce the moss when you plant live succulents, you will need to create a hole for faux succulents also. You may also need to take thicker plastic stems off plants that are too wide to comfortable seat in the form. Note: Most faux succulents have removable stems, so don’t be afraid to take plants apart if they will fit better.
The photo below shows you what the thinner stem under a thick one may look like.

That’s it! Just use your screwdriver to place your plants. And because you are using faux plants – no worries if you change your mind and want to move them around! You can! That said, these plants obviously wont grow roots securing them into the topiary – so if your plants seem loose, add a dab of glue to the stem as you insert.
Are you ready to start making a Succulent Topiary for your Garden space?
Check out this short video showing you step by step how I created mine…
Happy Succulent Topiary making! Be sure to check out HendersonGardenSupply.com for more fun Garden ideas and inspirations. And if your looking for some Spring and Summer crafts and recipes stay tuned to our Facebook and Instagram pages!
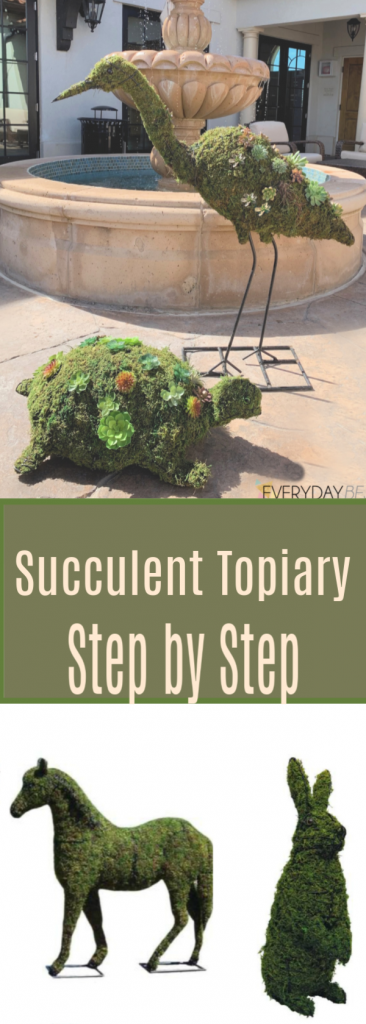
Pin for Later:
Thanks to Henderson Garden Supply for providing the topiary forms to facilitate this article. As always, all opinions are my own.
Shannon traded in her sensible NYC TV producer shoes (they were best for taking the subway), for a pair of Texas Cowboy boots when she married her best friend! He's at fault for making this Yankee a Texan! Shannon writes about all things that make a house a home. Her chief blogging inspiration is being the proud & slightly neurotic mom of a preschool age daughter.
You can find Shannon on Facebook, Pinterest, Instagram and her new favorite place to hang out, Google+.


Hi Shannon! I love your topiaries. Will you post a pic of what they look like today?
Can you tell me how you keep the soil in around the moss to keep from getting too heavy and any kind of special soil? I have an alligator frame that I’d love to do this too!
I love the heron!